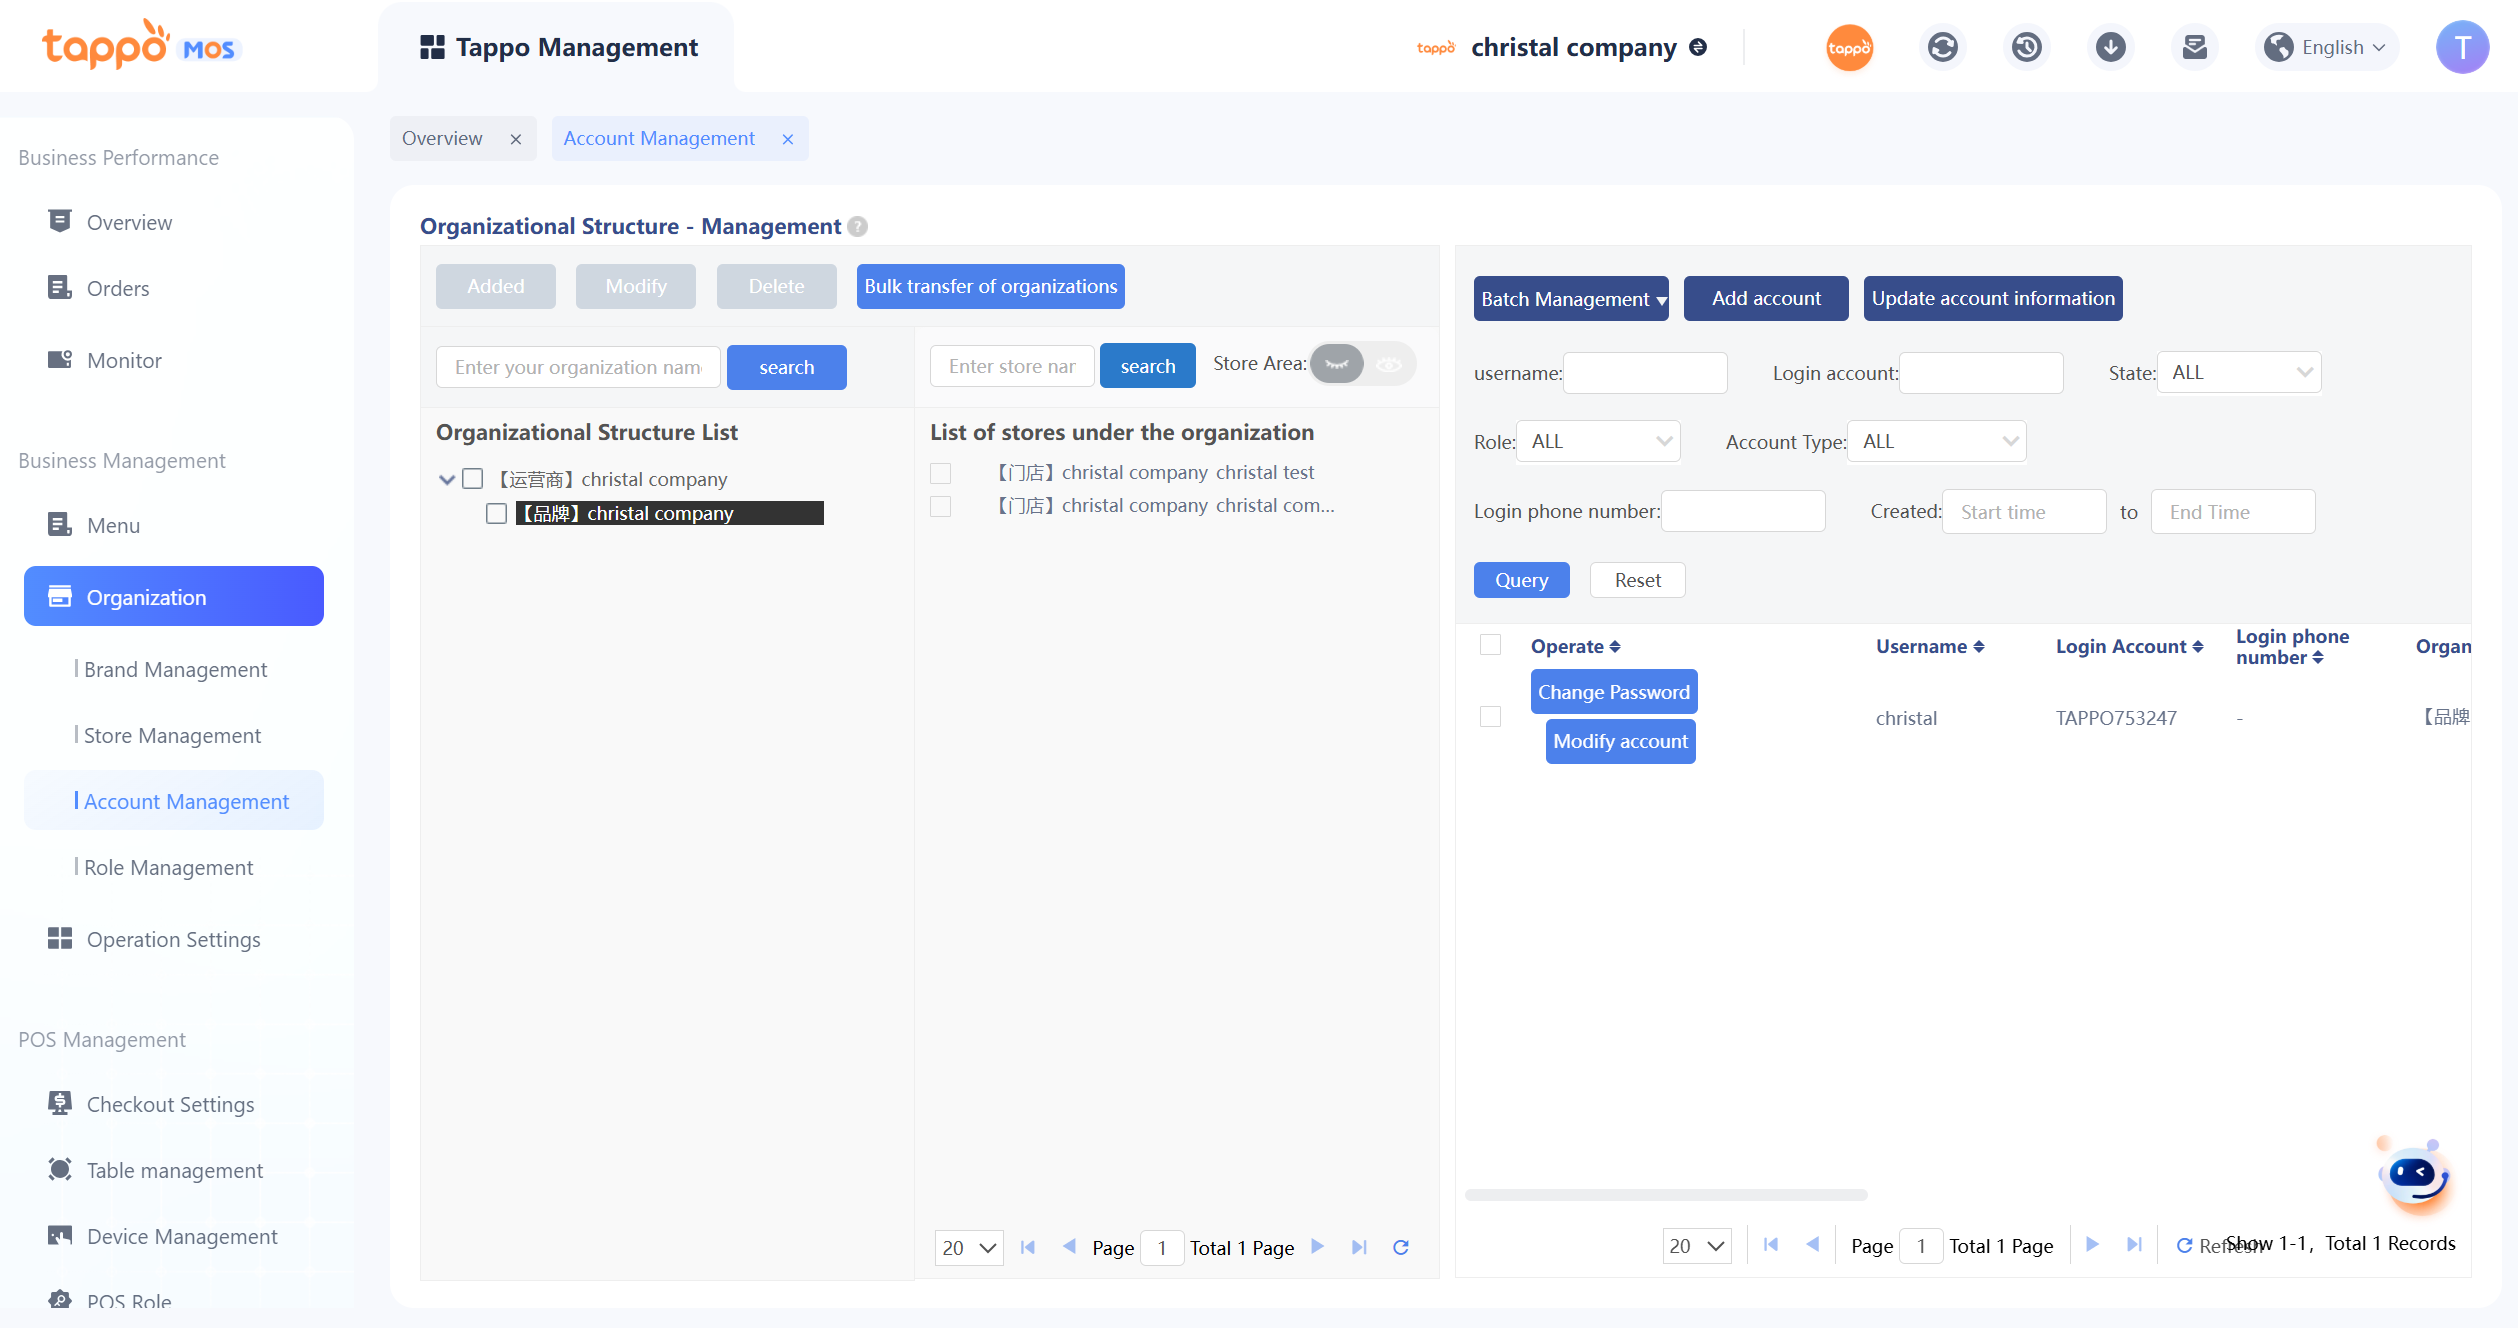
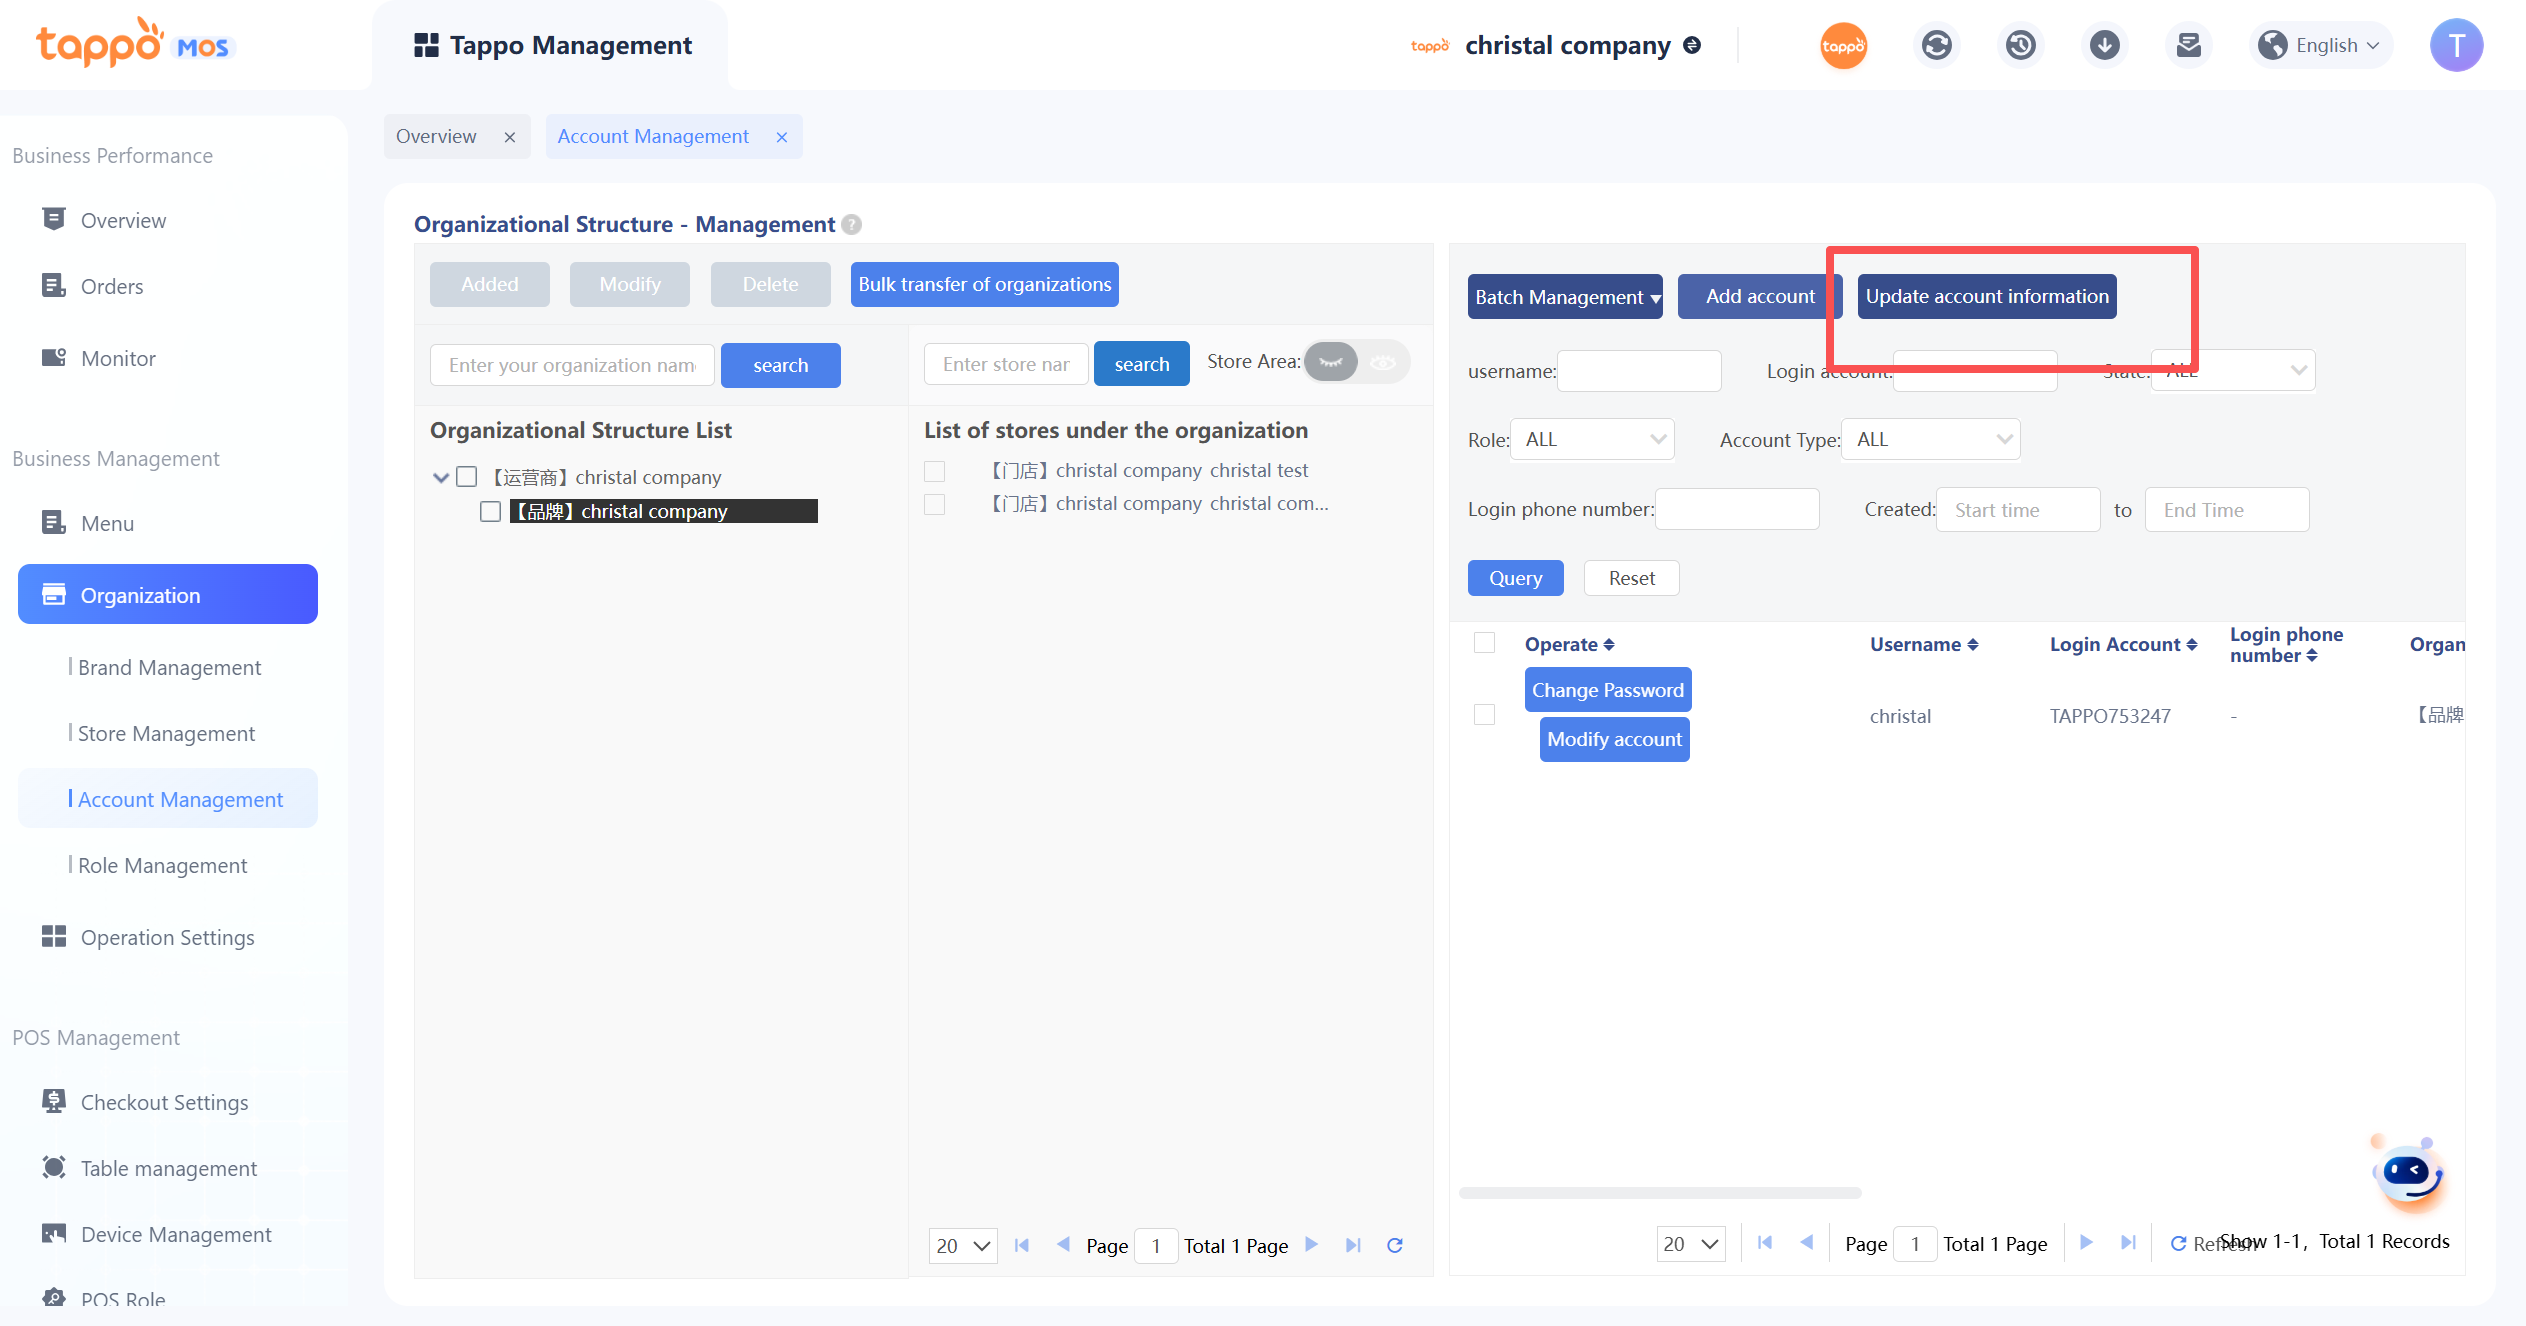
Manage MOS accounts under the group. Currently, only users with the roles of Group Administrator and Brand Administrator can use this function.
Organizational Structure
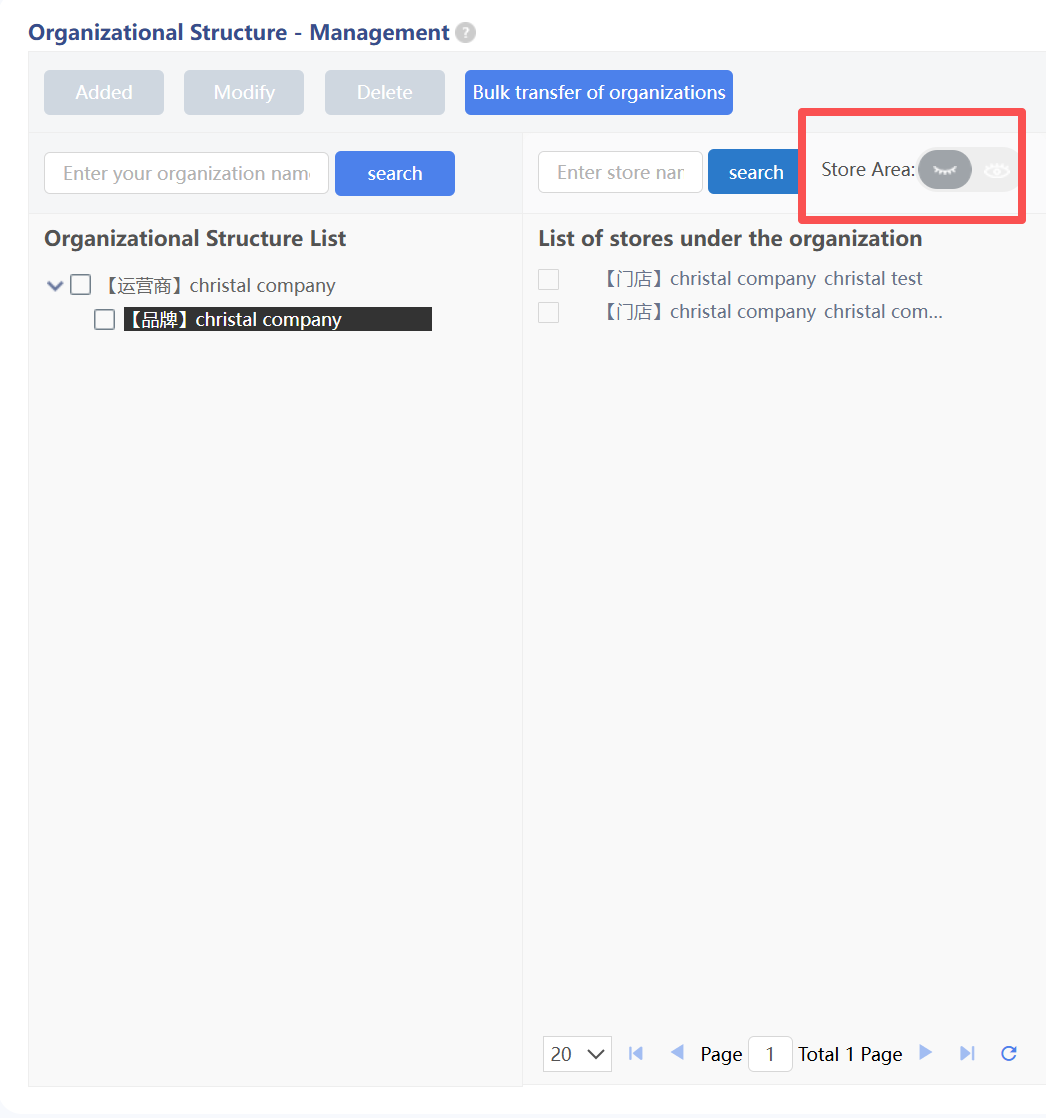
You can view MOS accounts of a certain organization. For example, clicking the [Operator] node will display all MOS accounts under the operator on the right list. Clicking the [Brand] node will display only MOS accounts with data permissions for the brand and all stores under the brand on the right list. In the organizational structure, the store node supports displaying identifiers of the affiliated region, but the organization name is queried based on the store’s own name.
Custom Group Organizational Structure
In the organizational structure, custom groups can be added under the brand. The added custom group organizations can be bound to all stores under the brand, and secondary custom group organizations can be added in the custom group organizations.
1. Organizational Functions
a. Accounts can be added in the organization. The account has the management permissions of the stores under the organization by default.
b. Stores can be batch transferred to an organization to change the store management permissions.
Add Account
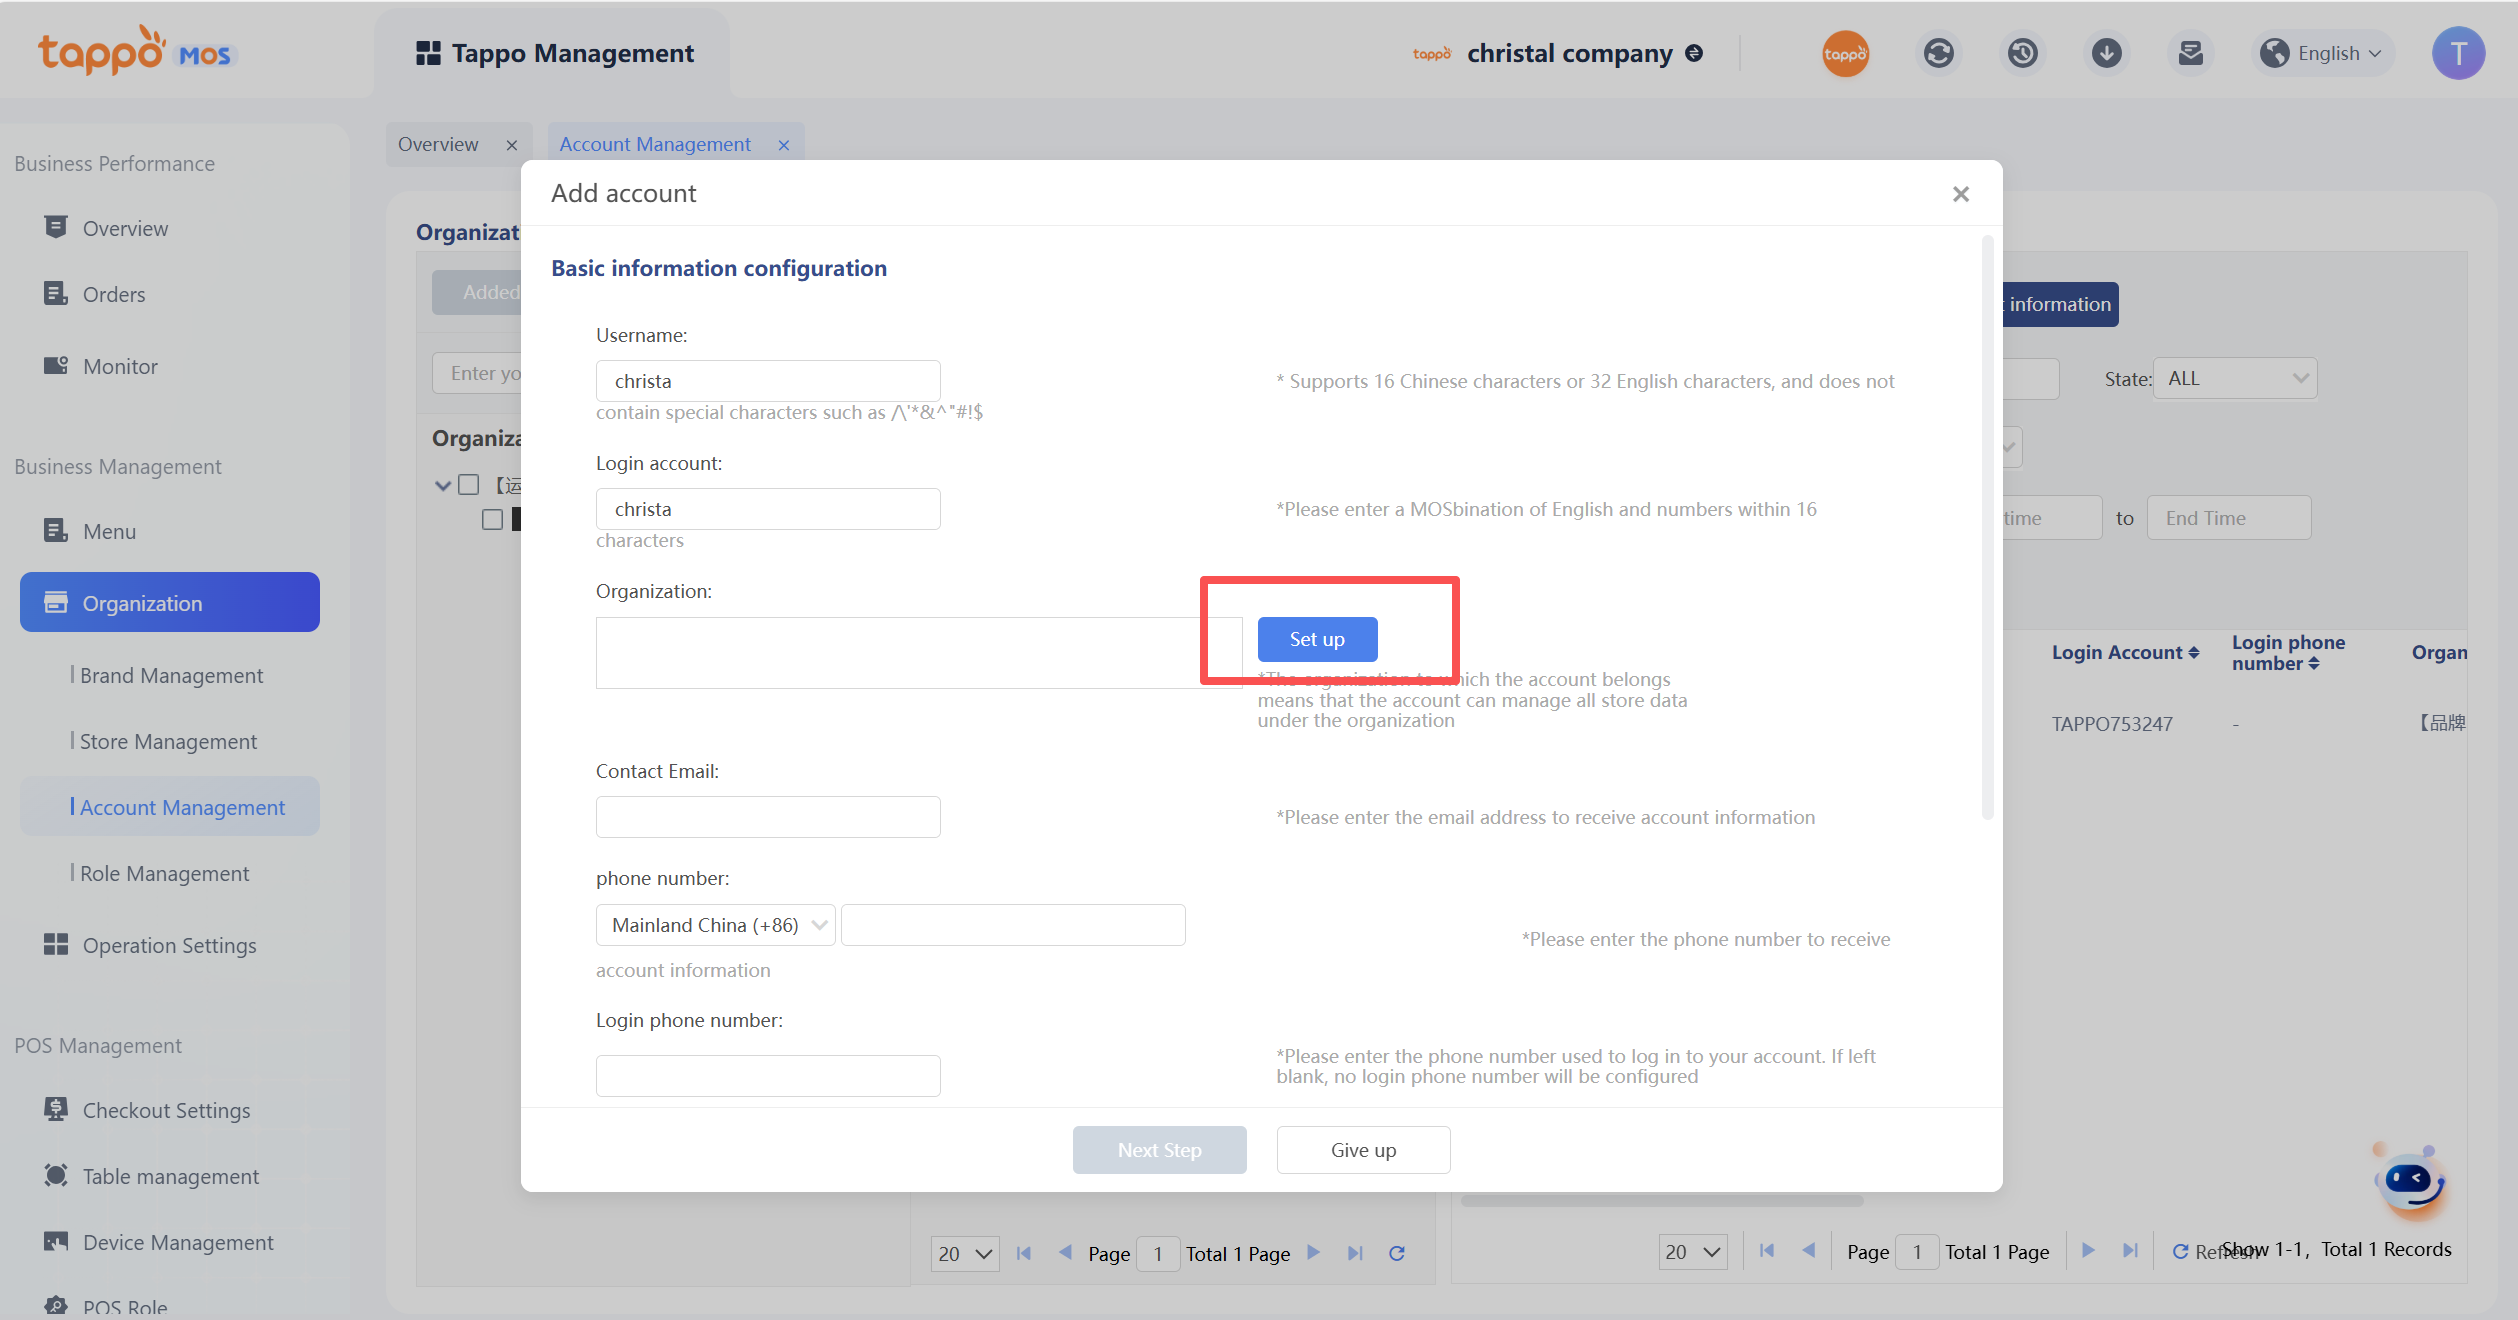
Function Description:
1. Username: Set the account name of the MOS login account.
2. Login Account: Set the MOS login account.
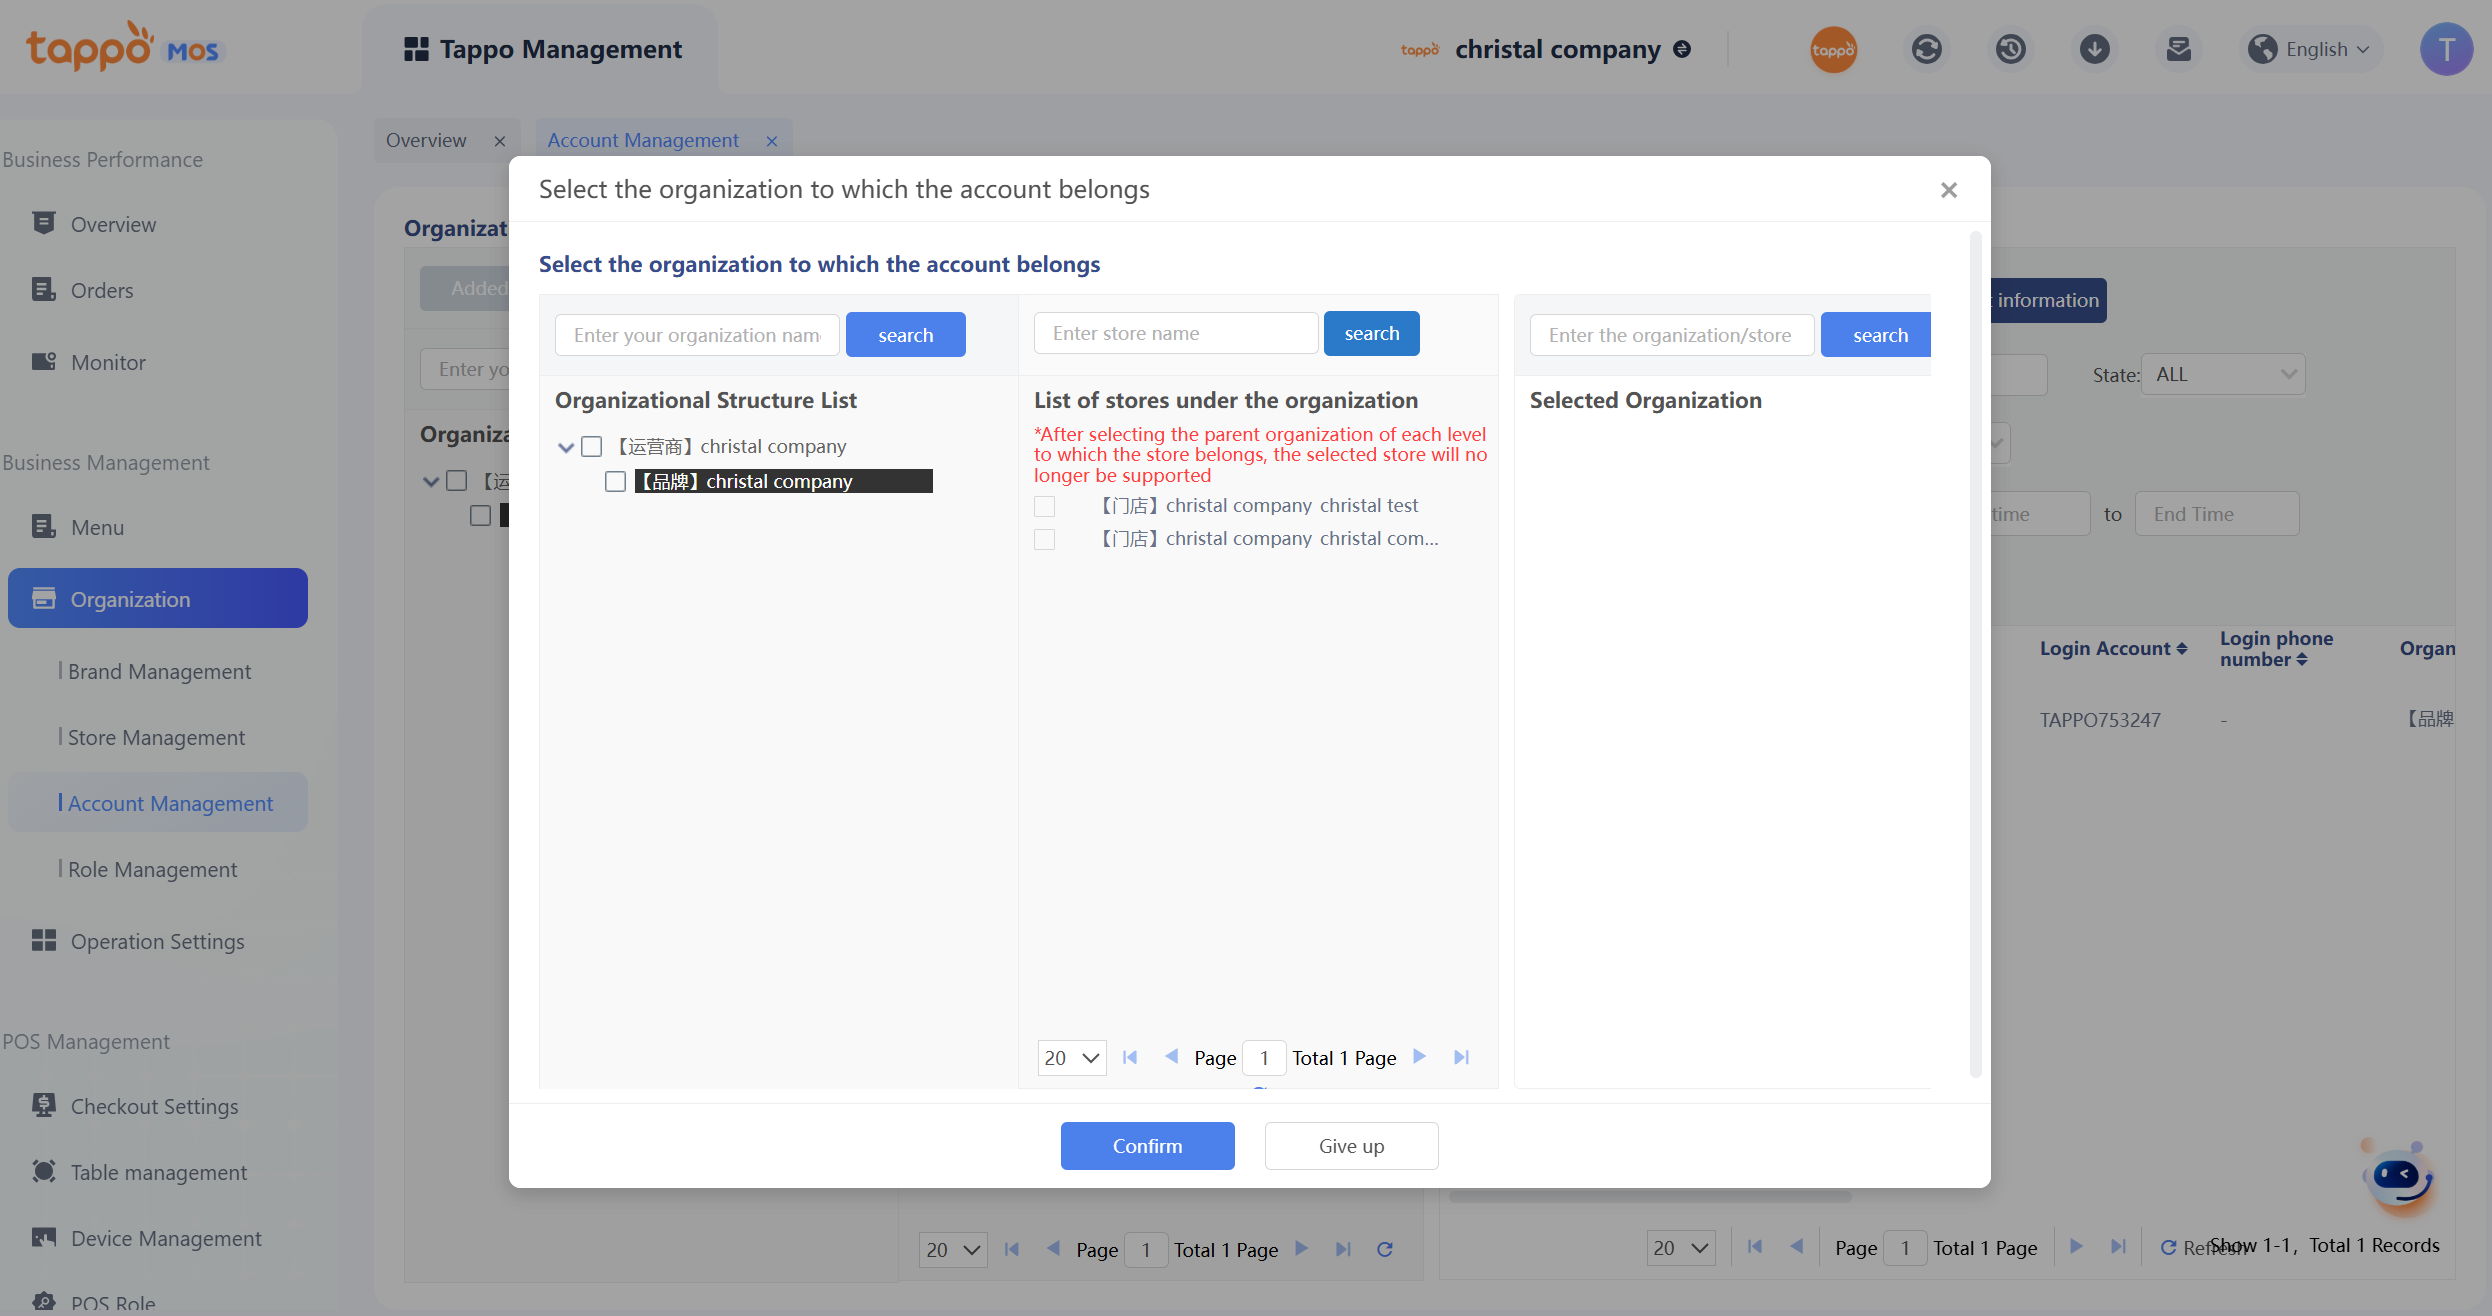
3. Affiliated Organization: Set the organization to which the account belongs, which means the account can manage the data of all stores under the organization. Currently, the organizational structure has three levels, from high to low: [Operator] – [Brand] – [Store]. By default, only the [Operator] organization is initialized. After creating brand data, the system automatically creates the [Brand] organization. When creating store data for the brand, the system automatically creates the [Store] organization. Example: When creating a MOS account, if the account’s affiliated organization is set to a certain [Brand] organization, the account has the data permissions of all stores under the brand.
Ps. Data Permissions: Limit users to view information such as orders, stores, activities, and coupons of a certain brand or store.
4. Contact Email: The new or reset Tappo POS account and password will be notified via email.
5. Tappo POS Support: Currently, there are 3 settings: MOS Only, No Tappo POS Order Acceptance, Has Tappo POS Order Acceptance. MOS Only means the account can only log in to MOS. Has Tappo POS Order Acceptance means the account user has the function of accepting and processing orders on the Tappo POS system terminal. Accounts without Tappo POS Order Acceptance permission can log in to Tappo POS to view orders and can be set to have the permission to call rider companies. With this permission, the account can log in to Tappo POS to call riders for orders.
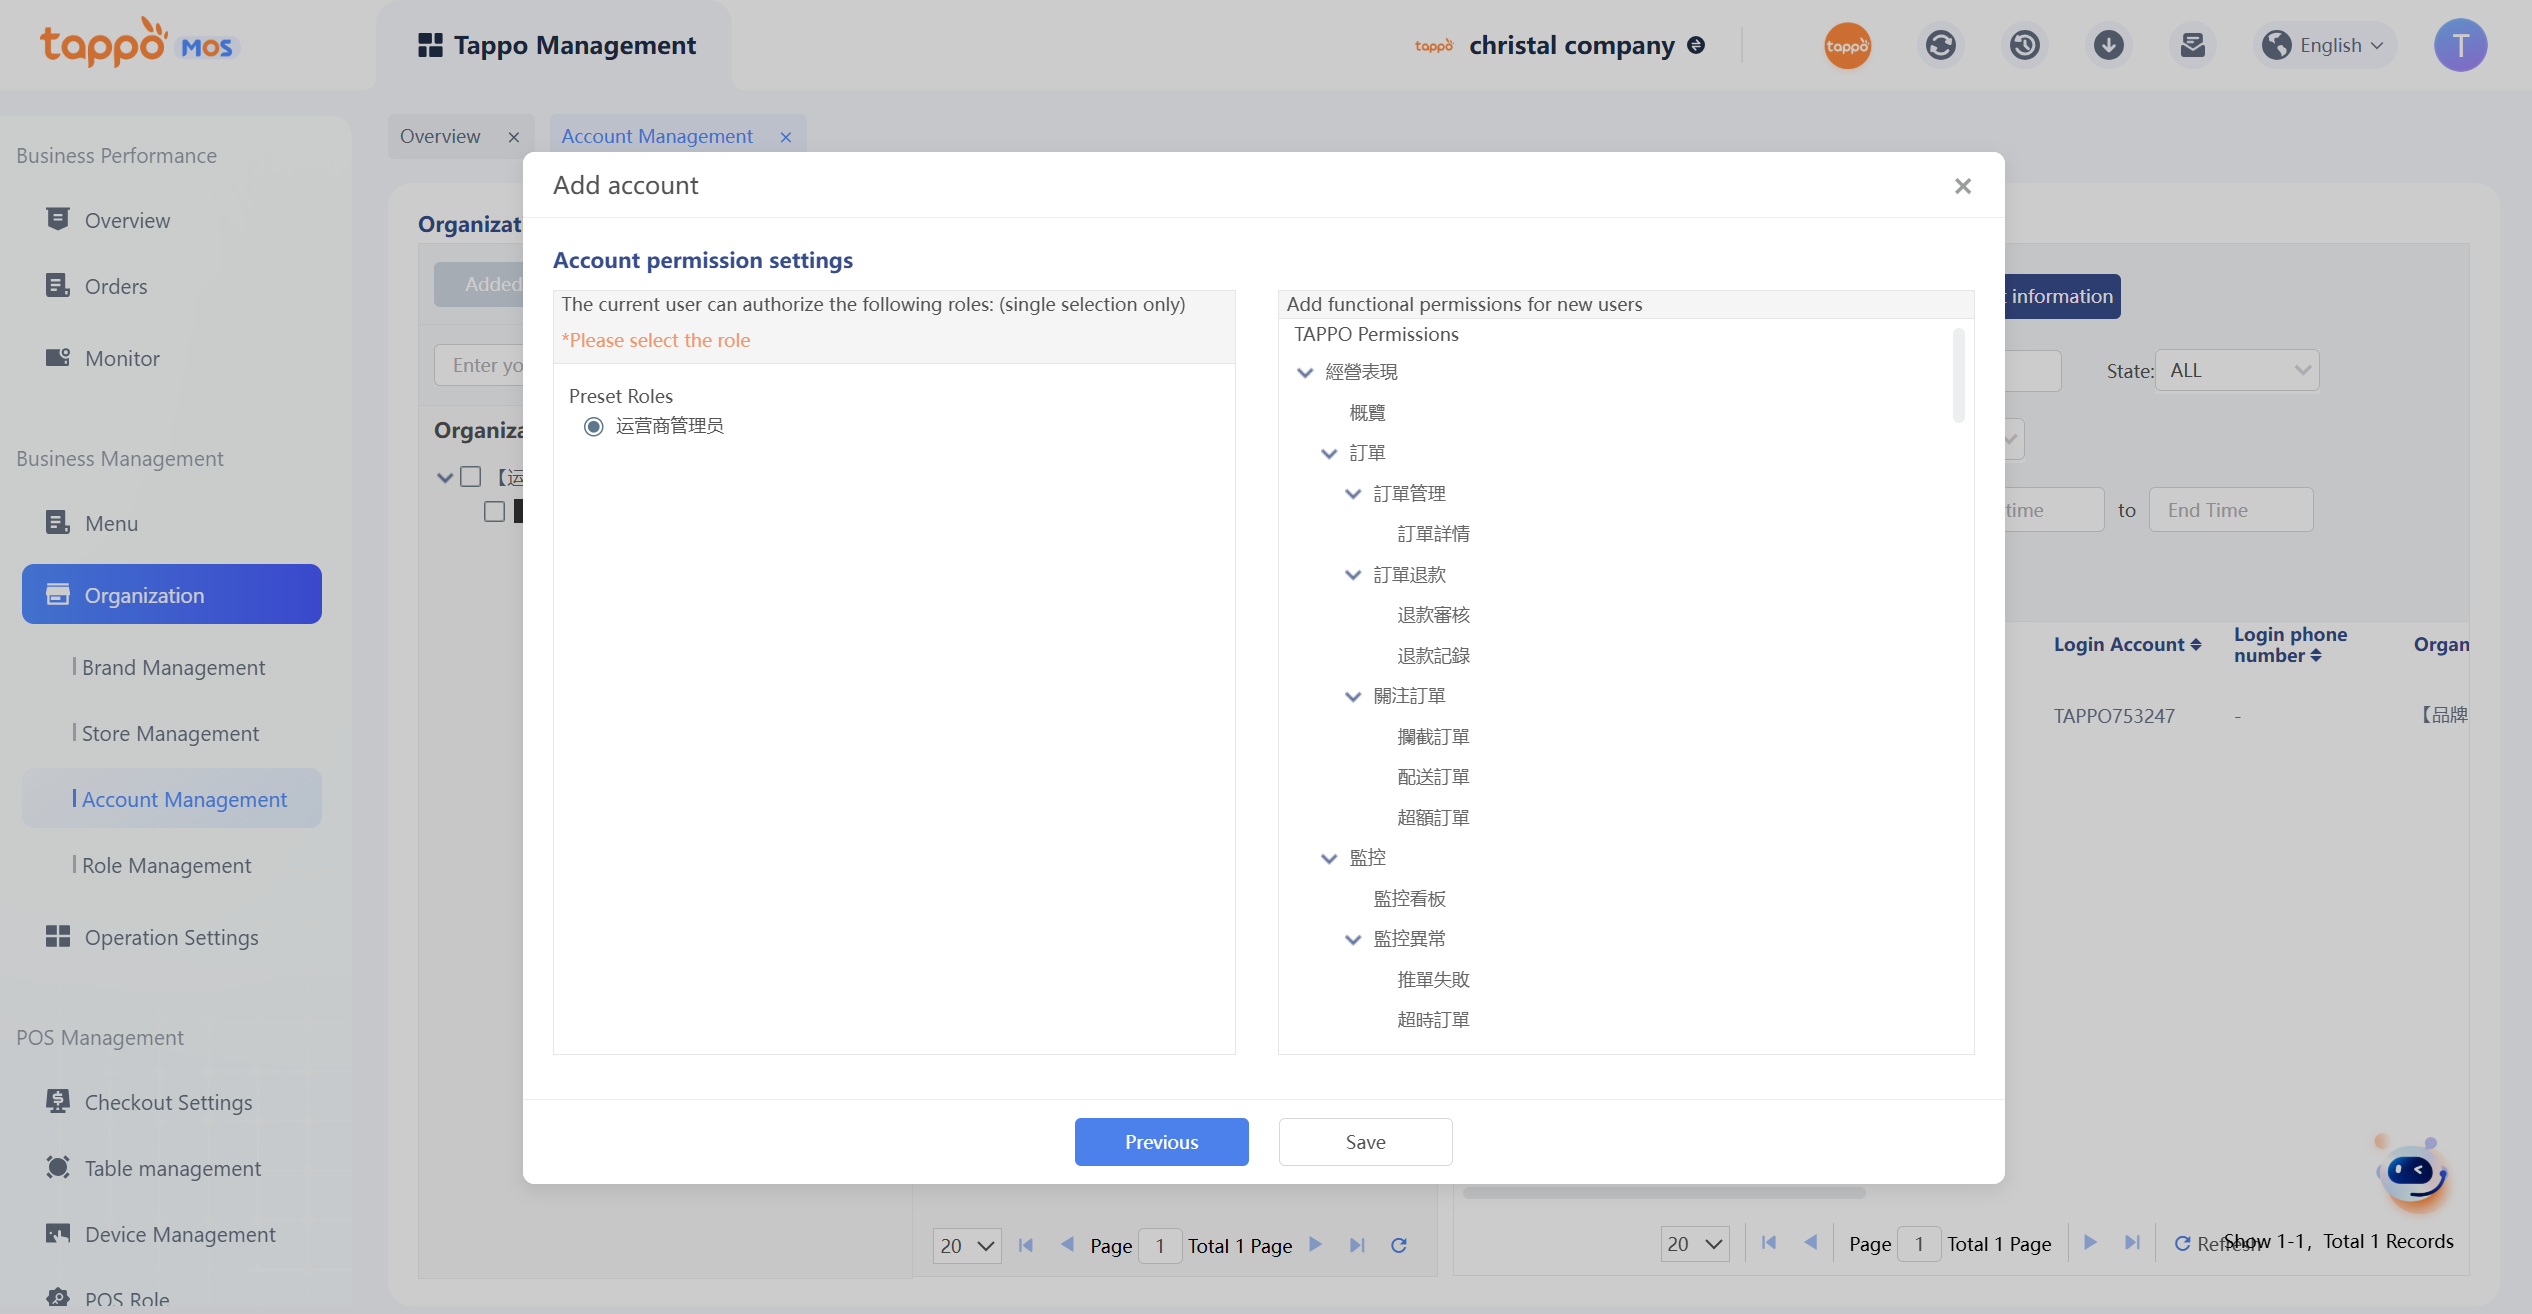
6. Account Permission Setting: Set the menu permissions of the MOS account. Currently, the system sets the system functions available to an account through role authorization.
7. Default Roles: Currently, for each operator version, the system defaults to the roles of Operator Administrator, Brand Administrator, and Store Administrator. Each role has different ranges of available functions. Merchants can use them as needed. The default roles of Operator and Brand have all MOS function permissions.
8. Custom Roles: Merchants can set custom roles according to their own operation needs, such as Report Role, which only views some functions of MOS.
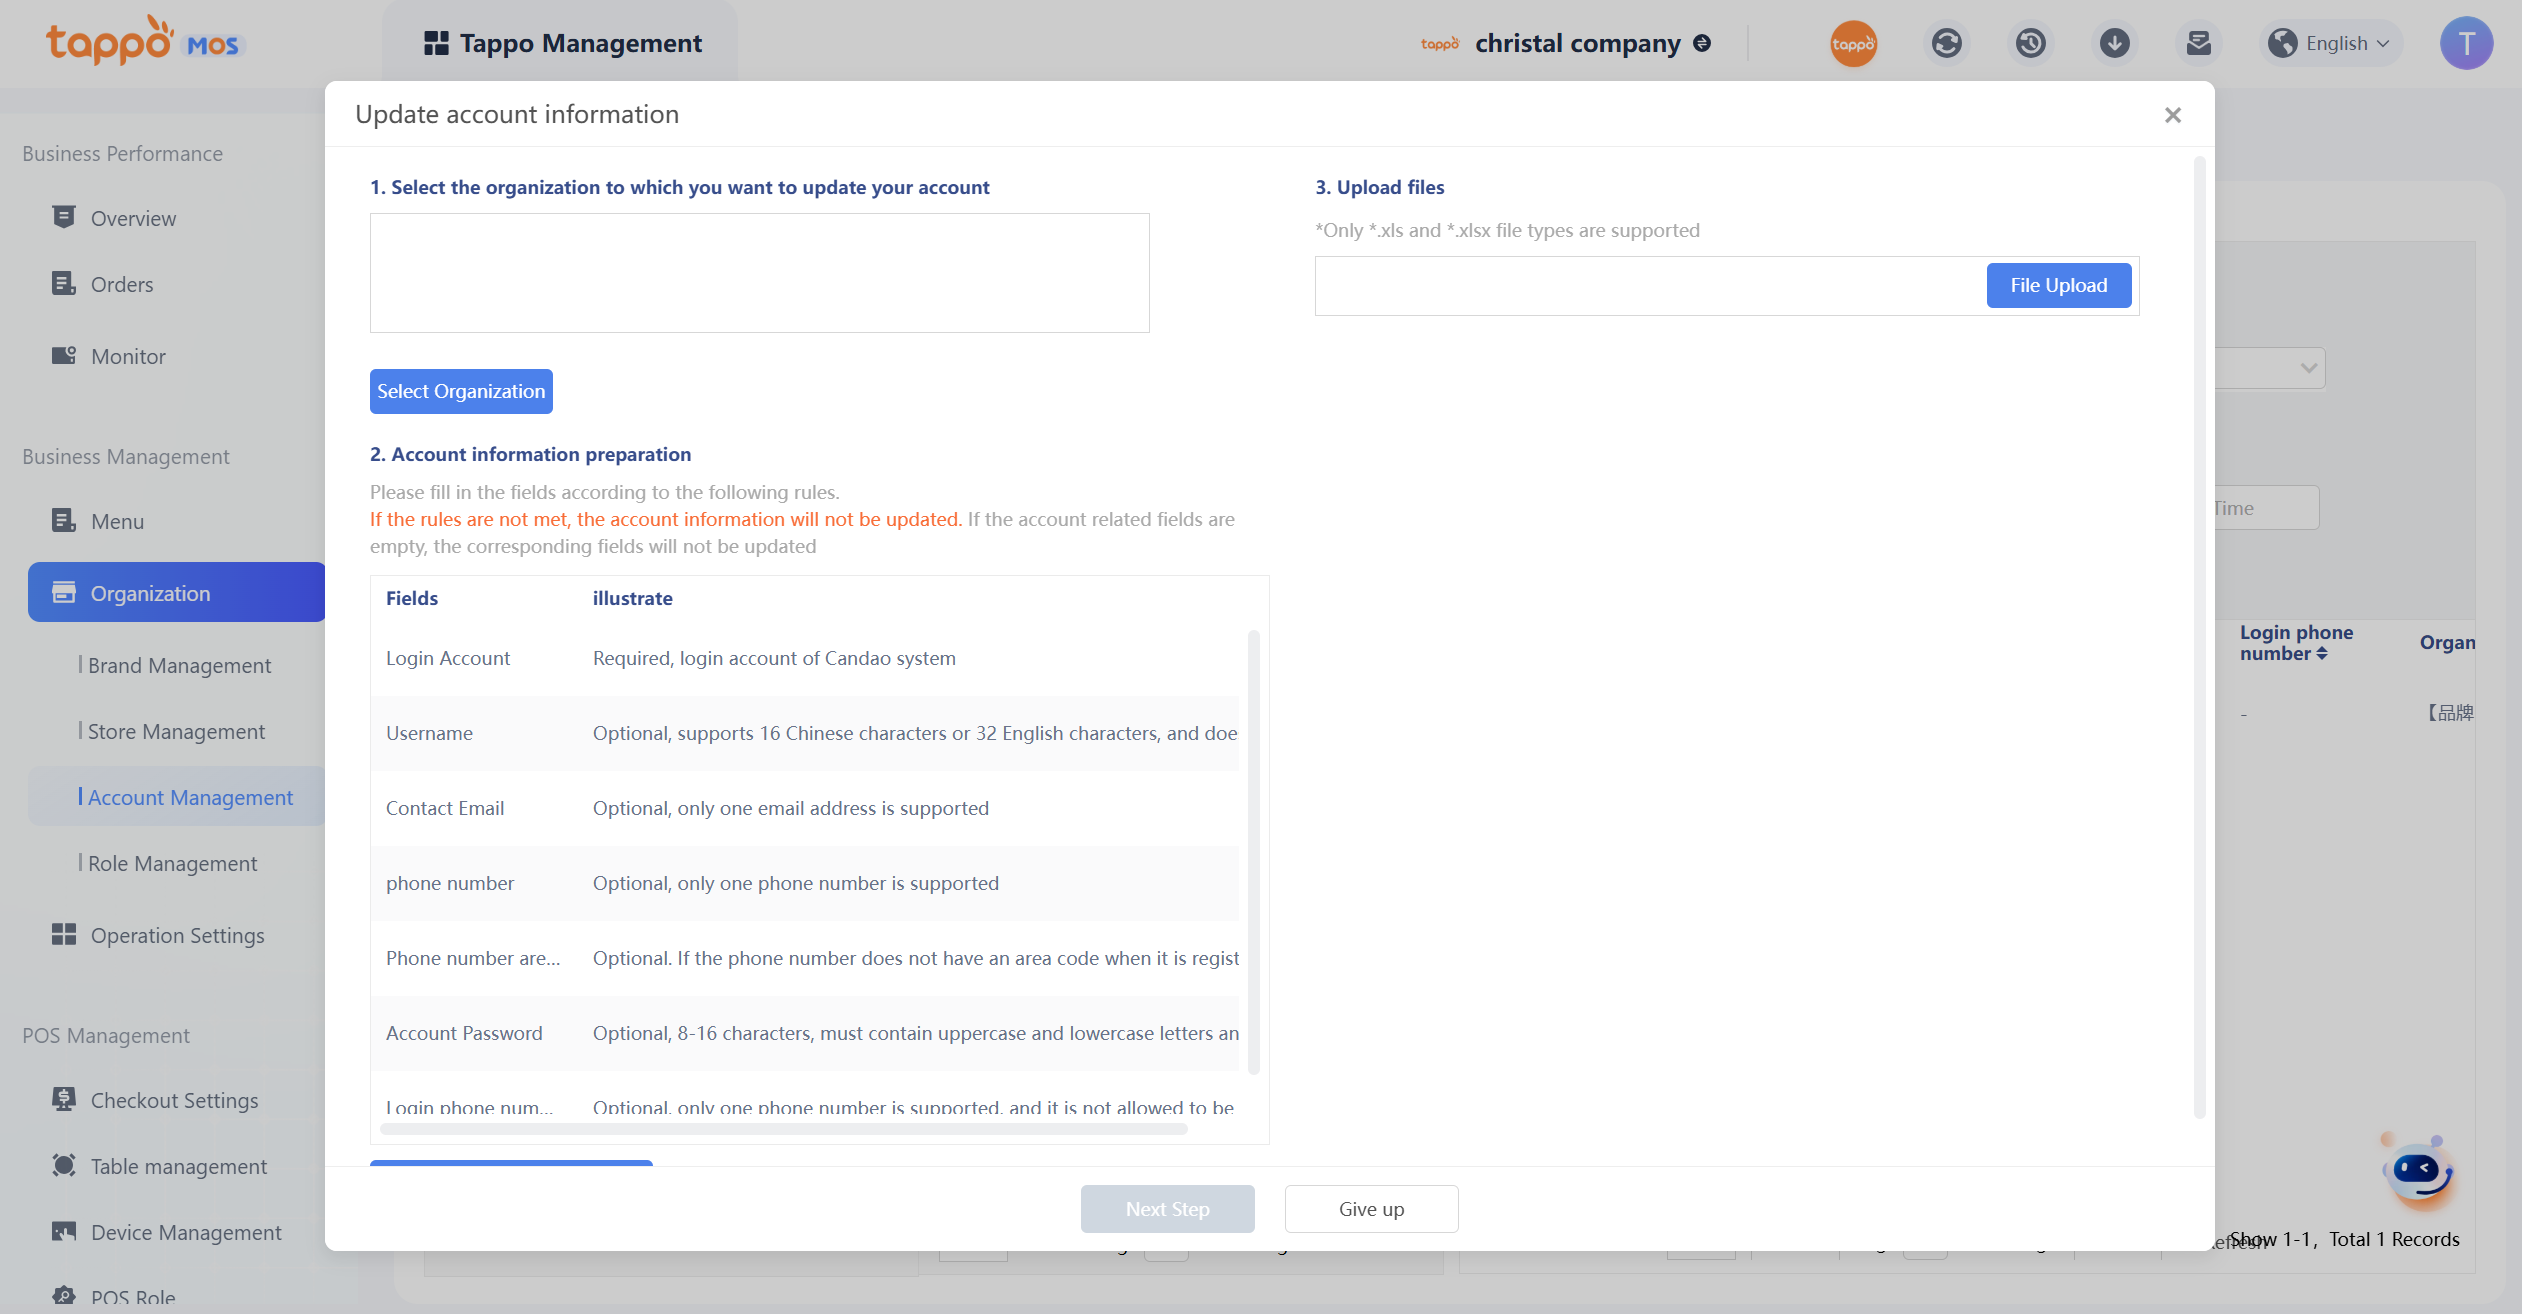
Update Account Information
1. Click the button to enter the update account information pop-up window.
2. Select the account organization to be updated.
3. Download account information and enter the login password of the current account.
4. Modify account information locally, re-upload, and enter the login password of the account.
5. Click the Import button to view the verification results.